
Well here it is at last! After revealing our new logo yesterday, we are proud to share an image of our new packaging with you. It will take some time to re-brand all our products but we think it will be worth the wait, don’t you?
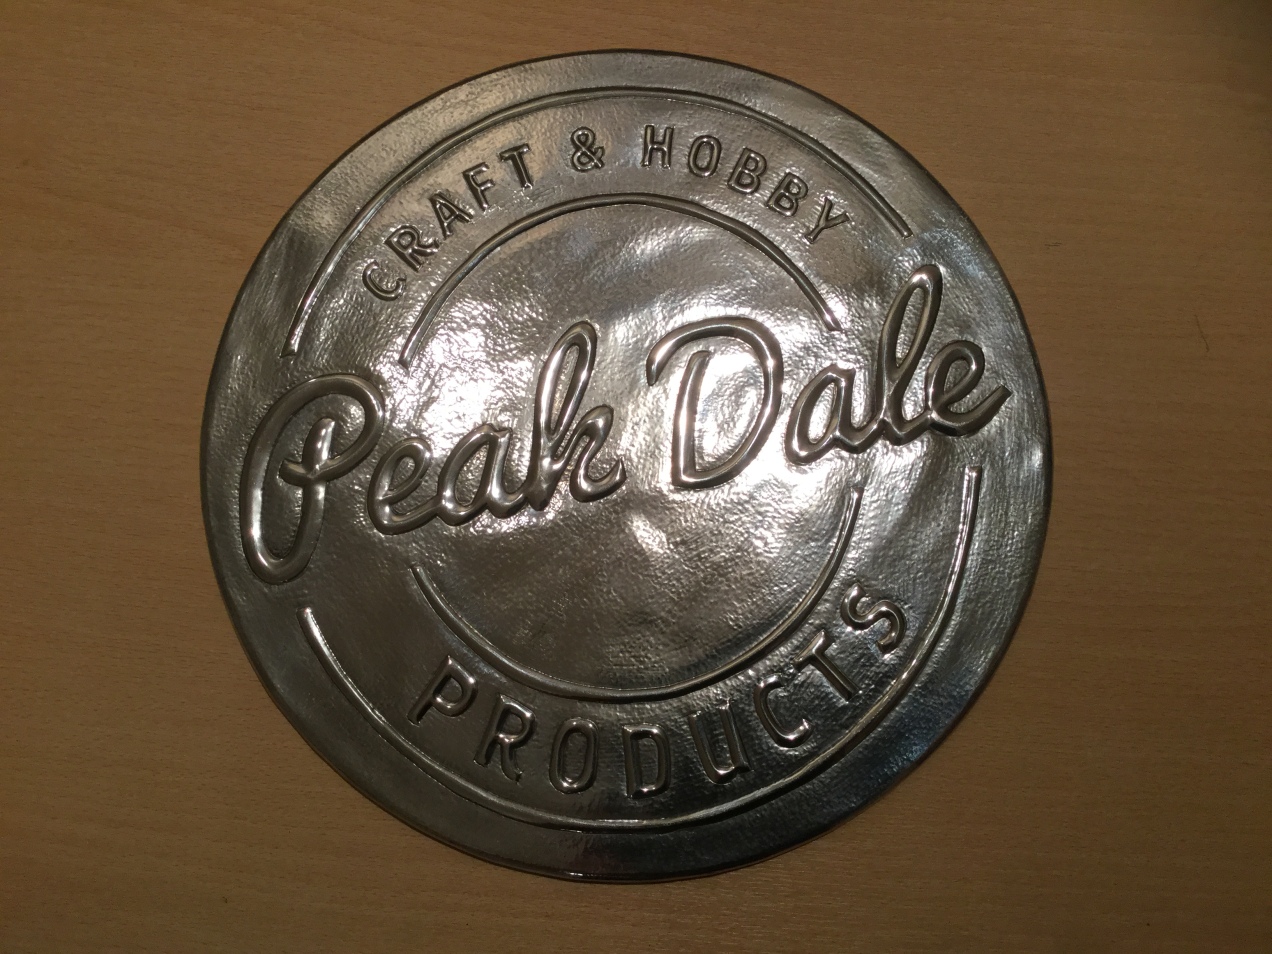
And finally here it is …..our new logo!
We’re very proud to introduce you to our new logo. We love it and would welcome your thoughts too. But that’s not all, as we also have beautiful new packaging which we’ll show you tomorrow. Be sure to pop by and have a look.

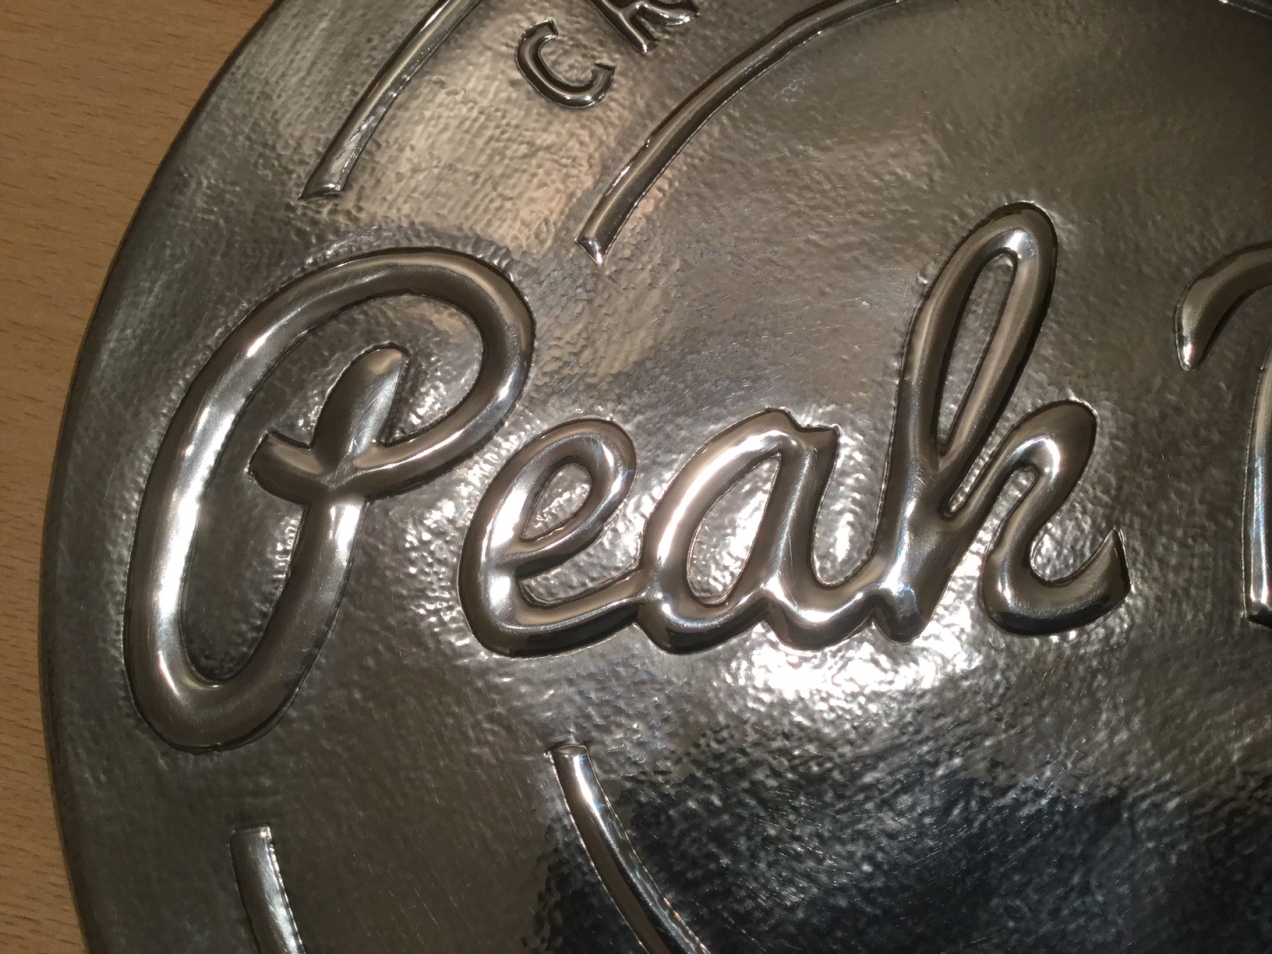
Sneak Peek
The other day we were a little mysterious about some changes happening here at PDP HQ …… so here’s a sneak peek at what’s going on at Peak! Can anyone guess?
Lampshade Making (continued)
So, continuing with my playing with lampshades, I ended up making this. Isn’t it cute!! I will give you a rough idea of what I did

I wanted to use cork and chose the self adhesive 1mm thick cork – easier to roll. Using the 20cm set of lampshade rings I cut the cork to length (bit of maths involved here 2πr so 2 x 3.14 x radius). Add about 2 cm on for the overlap. Then I decided how tall I wanted the lampshade to be and marked it all out on the back and cut to size. Stick this cork to the Stik-it and cut to size.
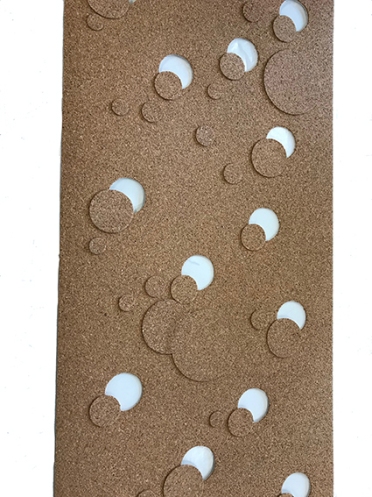
Off we go. I wanted to cut holes in the cork to let the light out and used the offcuts to stick randomly onto the outside of the cork. I thought that it would be nice to overlap the holes so that the shadows cast a moon shape.
Next, I grunged up. Just using acrylic paint and screwed up paper, I dabbed random patches of paint around.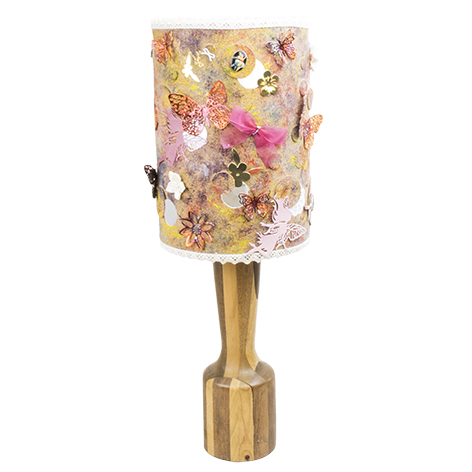
Then I really went to town. I have got a thing about burning copper so I used a small blow torch and heated a scrap piece of thin copper. I got some stunning colours. Then I took small pieces and cut them with some lovely butterfly dies. I continued adding all sorts of things until I was happy with the shade. I am delighted with my first attempt at lampshades.
Have a go, it is so easy!
